Interest-Led Learning: How to Turn Any Interest into a School Project
It’s 4pm on a Wednesday and your child has been absorbed in the same interest since breakfast — Minecraft, or horses, or an increasingly elaborate den — and somewhere around the third hour a quiet voice starts up: this doesn’t count. Real home education has workbooks in it. By 9pm the voice is louder, and you’re searching for curriculum plans you don’t actually want.
Here’s the short answer, early, because it’s the one you need: an interest is not a distraction from education. Followed properly, it is the education. This post is about how to follow it properly.
Chess is a game. It’s a hobby, not school — except that it isn’t, really. To play chess requires learning the pieces and the rules, thinking logically, planning strategies, applying pattern recognition, practising memorisation, and understanding what it means to lose graciously. You could spend a term on chess and cover skills that feed every other subject on the timetable. It wouldn’t look or feel like ‘school’.
That’s interest-led learning. And it’s one of the most useful tools in a home educator’s kit.
What’s in this guide
Any interest is a starting point
The trick is learning to look past the surface of what your child loves and ask what skills it actually requires — rather than fighting their interests into a curriculum that doesn’t fit. Gaming looks nothing like school, until you notice the strategy, the spatial awareness, the teamwork, the typing speed, the problem-solving under pressure. Cooking is geography and chemistry and maths and nutrition before you’ve even turned the oven on.
Start by writing a list of everything your child is currently interested in. Don’t filter for whether it sounds academic enough. Then ask yourself: what would they need to know, or be able to do, to pursue this further?
Once you can see the skill set, you can build from it. If they love gaming, task them with designing a board game version of their favourite. Or writing the story of the game world. Or researching the history of the genre. You’re not pretending the interest is educational — you’re following the thread of what genuinely engages them until it becomes educational.
A project is a folder
The way to give an interest shape is a project. Not necessarily a neat one — sometimes it’s a folder that develops its own subsections and starts to feel more like a small archive than a school assignment. That’s fine. Following the rabbit holes is the point.
A project is a collection of information about a topic that the learner returns to, adds to, and eventually knows well enough to talk about without prompting. Some projects run for a term with a deadline; others span years as the interest holds. An interest-led project could start at age eight and still be growing at fifteen — by which time it has quietly become a research portfolio for higher education interviews.
The reason the format works is that it’s open-ended without being directionless. Your learner has a subject and a list of things to include; beyond that, how they fill it is largely up to them. For learners who resist being told exactly what to produce, this tends to generate more genuine engagement — they can express themselves through their work. You’re giving them the freedom of home education to chase what interests them, and supporting their academic learning without it ever feeling restrictive.
What goes in: the six components
Background information
Every topic has a history. Before your learner can explore the detail, they need the context — think of it as the introductory paragraph of an essay. Where did this start? How did it develop? This also gives reluctant starters a way in: it’s research with a defined question, which is less overwhelming than a blank page.
Facts and figures
Every interest can be represented in data somewhere. A graph, an infographic, a list of stats — the format is flexible, but getting learners into the habit of looking for data in whatever they study pays off later in ways that aren’t immediately obvious. It also adds maths into the project without anyone noticing, which is never a bad thing.
Art in some form
This earns its place for two reasons. First, it gives learners who find extended writing difficult another way to demonstrate what they know — illustrations, diagrams, maps, storyboards, anything visual that’s relevant to the topic. Second, it tends to produce work they’re proud of, which quietly raises the standard of everything else in the folder. If you have a child who will produce a beautiful diagram but fights you on written work, let the diagram happen. The writing comes easier once they’re invested.
N.B. Written work doesn’t have to be handwritten if that’s a struggle for your home learner: for some students, typing takes the effort out of writing, giving their brains more room for creativity.
Main text
Our minimum is one page in their own words. That requires reading at least three pages to produce one — which is the whole point. We do plagiarism checks, so copy-paste is off the table from the start; make this clear early and cheerfully. Writing to a set length is a real exam skill, and the earlier they practise it, the easier it becomes. If a topic is genuinely complex, two pages is better than one page that’s cramped and incomplete. More is more at this stage; self-editing comes later.
History and geography connection
Where did this start? Where in the world does it connect? These threads aren’t add-ons — they’re the mechanism that stops a project from being a bubble. Follow the interest far enough and it always connects to the wider world. Chess connects to medieval warfare and Cold War politics. Baking connects to trade routes and chemistry — how far does vanilla travel to reach your kitchen, and what does that mean for climate and supply chains? Archery connects to how it’s been used across cultures, and whether technology changes a sport’s integrity.
A summary or presentation
This can be written, verbal, or visual — the format is up to the learner. What matters is that they have to revisit and synthesise what they’ve learnt. Don’t skip this part; there’s more on why below.
Written work goes in everything too
Whether it’s a summary paragraph, a poem about something they’ve made, or a journal entry written from the perspective of a historical figure connected to their topic, written tasks embedded in project work are a low-pressure way to keep writing skills developing. It’s not a writing lesson. The resistance is lower.
Two projects from our kitchen table
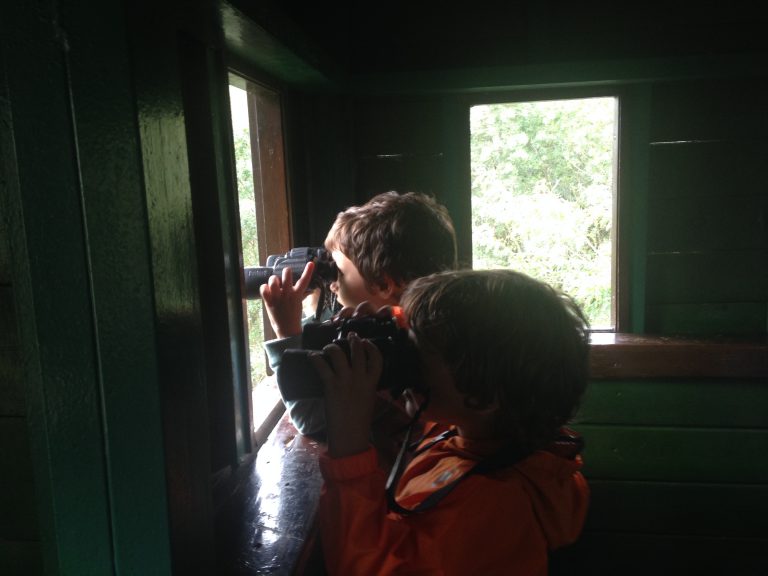
A few years ago, one of ours picked up an encyclopaedia of birds and didn’t put it down for months. He was ten; I was still finding my feet home educating and believed learning needed teacher-led structure. What followed wasn’t anything I’d planned. He mapped flight path data, calculated the speeds different species could reach at varying wind strengths, built bar charts of habitats and migration routes, learnt the Latin name of every species visible through his telescope, and compiled his own sighting log. Bird art covered most of the available wall space. He was analysing data, reading extensively, practising art, and learning to be still and quiet — a significant achievement for a hyperactive ten-year-old. He had no idea he was studying core subjects. He was just learning about birds.
He’d created his first proper interest-led project without either of us realising that’s what it was — and taught me something I come back to regularly: stepping back and letting their curiosity lead is sometimes the most productive thing a home-ed parent can do.
The second example is music. One of ours has taken courses, made tutorials, and is heading toward exams — but to turn the interest into a project, he needed to quantify what he actually knew. He started with the history of string instruments and ended with speculative designs for a future instrument incorporating current technology. The project included diagrams, a study of music genres, plenty of art, and a live performance in place of a written summary. The interest was already there. The project gave it shape.
Running projects with more than one child
This is where the format earns its place in a multi-age homeschool. A single topic can anchor a project for very different ages simultaneously. Space works for a five-year-old (the planets, what astronauts eat) and a fourteen-year-old (astronomy, orbital mechanics, the history of space exploration) at the same time. You theme around the same subject, teach to the middle of the group’s range, then extend individually with one-to-one sessions, or their separate folder tasks.
Siblings working on a shared project also learn to divide up research, review each other’s contributions, delegate, and present together. These aren’t soft extras — they’re the peer-learning skills that school builds incidentally through proximity to other children, and that home education has to build deliberately.
Presenting the work
When a project is finished, ask your learner to present it — to you, to extended family, to a home-ed group. This does something important: it changes what they need to know. There’s a difference between work that will be glanced at and work that will be questioned. The standard rises accordingly, without you having to push for it.
Start with a question you know they can answer confidently. Let them feel competent before you get to the harder ones. If you sense they haven’t pushed the research as far as they could, questions framed as curiosity rather than assessment tend to land better: “I don’t know this, but I wonder if…” often sends them back to the folder to find out — which is exactly what you want.
Presentation skills are worth naming as a specific gap in home education. School builds them incidentally — assemblies, group projects, show-and-tell moments accumulating across years. In home ed, those opportunities don’t happen by default. Building a presentation into every project is one way to make sure those skills, and the confidence they cultivate, get regular practice.
If you ever need to show your working
Somewhere in the back of your mind there may be a quieter worry: this is lovely, but would it satisfy the local authority? The law asks you to provide an efficient, suitable, full-time education — it does not ask for a curriculum, a timetable, or anything that resembles school. A dated project folder — background research, data work, extended writing, art, a record of a presentation — is precisely the kind of evidence that answers an informal enquiry, because it shows learning happening across subjects over time.
N.B. This is general information, not legal advice, and the legal landscape for home education in England is changing following the Children’s Wellbeing and Schools Act 2026 — the suitable education guide is the maintained, dated version of this topic.
Quick answers
Does interest-led learning count as a suitable education?
Yes. UK law requires an education suitable to your child’s age, ability and aptitude — not a curriculum or a timetable. A project folder built from an interest demonstrates reading, writing, maths, research and subject knowledge, which is what “suitable” is actually describing.
How long should a project last?
As long as the interest holds. Some run for a term with a deadline; others start at eight and are still growing at fifteen. Both are projects; neither is more valid.
What if my child’s only interest is gaming?
Gaming is strategy, spatial reasoning, problem-solving under pressure and, followed further, design, narrative and history. Ask them to design a board game version of their favourite, write the story of its world, or research where the genre came from.
Do projects work for teenagers?
Arguably best of all. A long-running project becomes a research portfolio for higher education interviews, and the discipline of quantifying what they know — as with a musician heading toward exams — is exactly the skill formal qualifications ask for.
The planning sheet
The free download below includes a learner planning sheet and a parent guide with thread-following prompts — history, geography, maths and data, extension — plus end-of-project reflection questions. There’s also a project agreement, which some learners find useful as a way of marking that this is a proper piece of work, not just a loose collection of things they found interesting. It also makes it fun, in the way that a home-ed contract, signed in quill ink, can.
If you’re unsure where to start with your own child’s interest, don’t hesitate to get in touch.